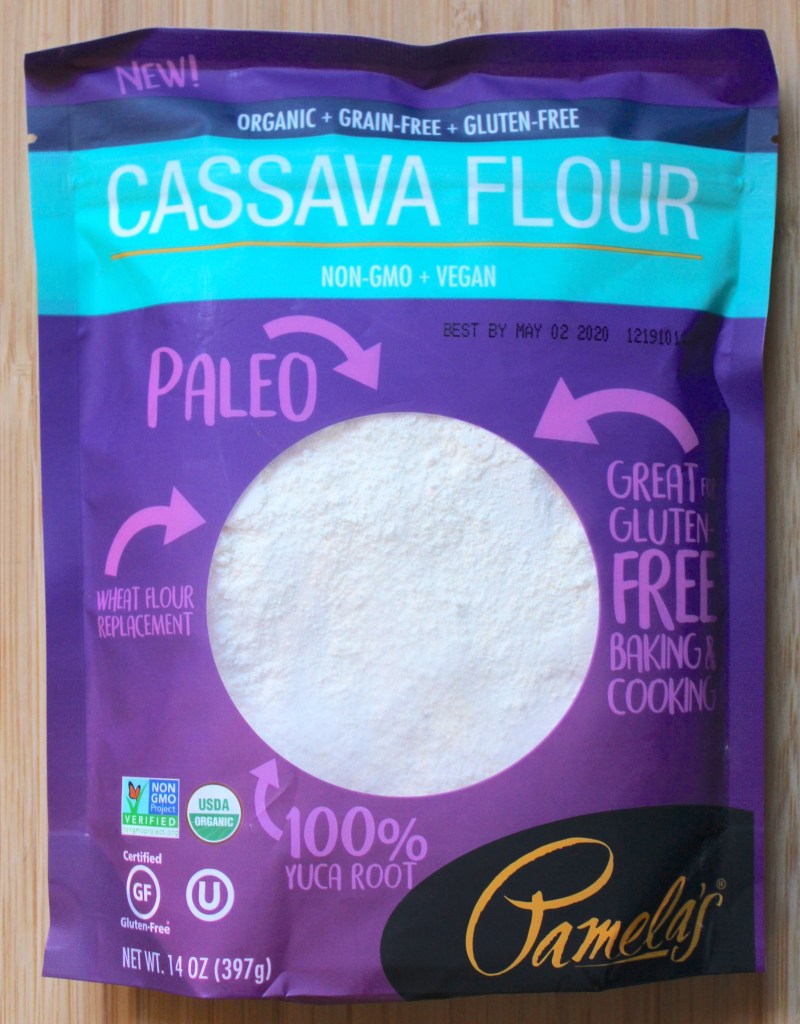
I first heard of cassava as an ingredient when I saw it on a bag of paleo pancake mix from Birch Blenders a few years ago. Since then, cassava has blown up into one of the new trendy flours you have to try. Cassava or yuca (not to be confused with the yucca shrub—ouch) is a root vegetable primarily found in South America and parts of Africa. Much like potatoes, it is quite starchy, filling, and can be prepared in a variety of different ways from boiling and mashing to drying out, grating and frying into fritters. We mostly know it in the U.S. as tapioca or tapioca starch!
I did a quick search on the Internet and came upon this article that was mildly terrifying because of the title: Poverty Plus A Poisonous Plant Blamed For Paralysis In Rural Africa. However, I don’t think we need to be too concerned as long as we are cooking the plant. I can’t see myself wanting to eat raw cassava or cassava flour anyway. From this article I also discovered a simple, new gluten free food I am now itching to try called fufu.
I was planning on creating my own recipe after testing a few on the Internet, but this food is just so simple to make, I don’t think much tweaking needs to happen. Basically the yuca root is boiled and mashed with a bit of salt, pepper, and oil, then formed into balls. That’s it! Because yuca is such a staple in more rural areas and countries like the Democratic Republic of the Congo, it makes sense that this is the most popular way to prepare the root.
In the future I’ll do some experimentation with add-ins to create some different flavor profiles in fufu, but for today, we’re making pancakes!
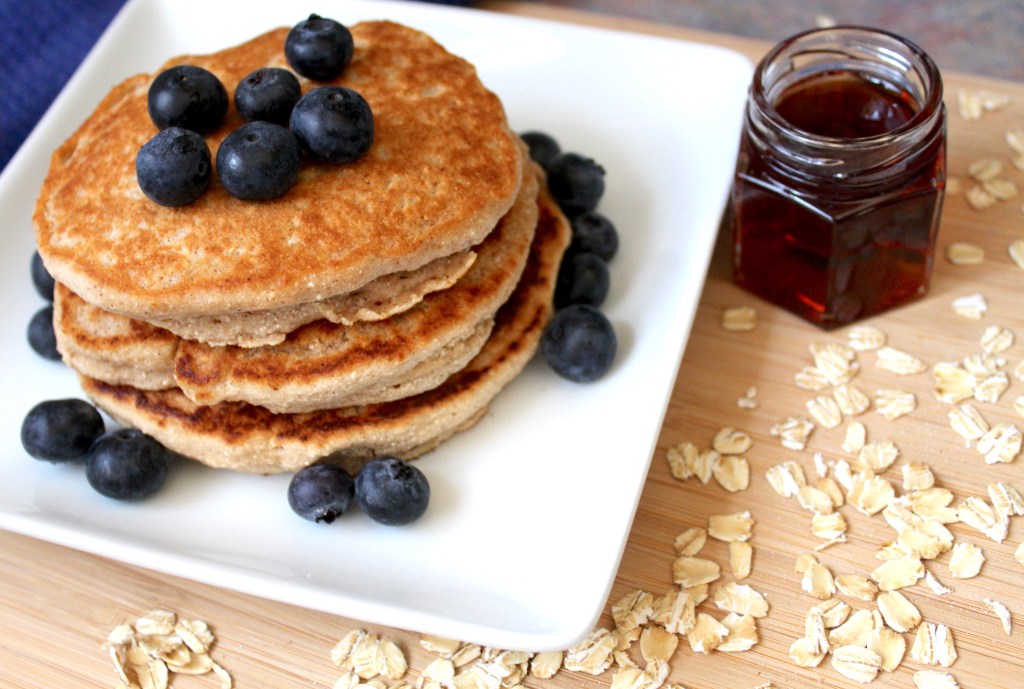
The cassava and oat flours give the pancakes a mildly sweet flavor without much sugar and the starches allow the pancakes to keep their shape without adding additional thickening agents. With only a few ingredients, these pancakes are perfect for when you’re in the mood for a sweet, fluffy breakfast food, but not in the mood for all the hassle that goes into it (which is usually how I feel).
Add in some mixed berries, apples, or even chocolate chips if you’re feeling extra sweet. You can even top the cakes with some real maple syrup and maybe even dust with a little powdered sugar to turn your breakfast into a special treat. Use this recipe as a basic foundation or add in special twists to make it your own.

Cassava Oat Pancakes
Servings: 2 (about 6 pancakes—sometimes this is 1 serving for me)
Time: 15 minutes
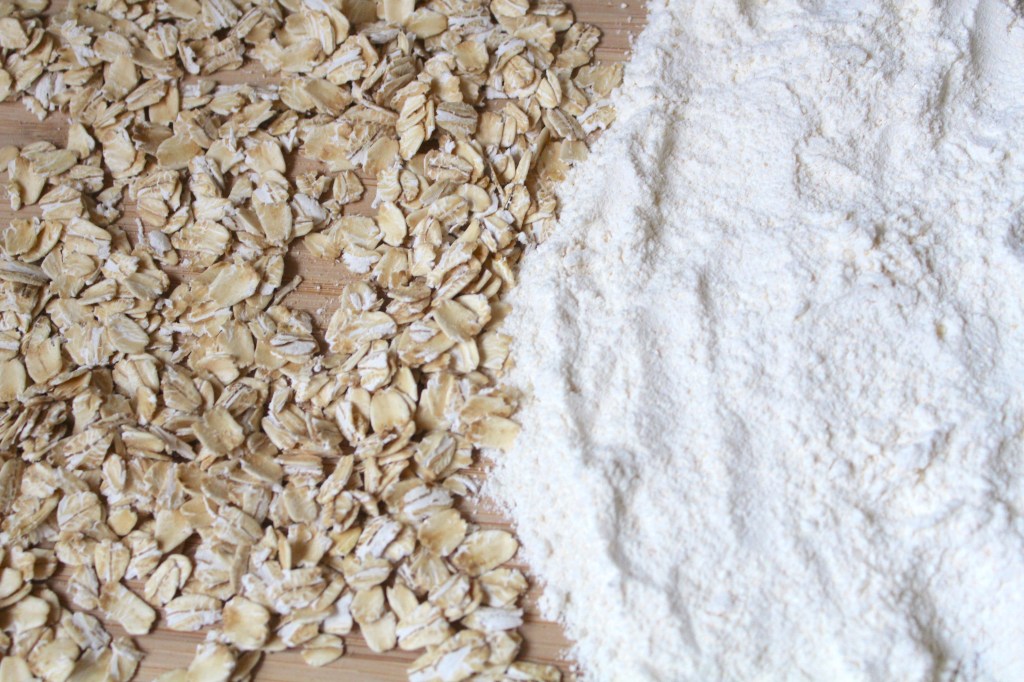
1/2 cup + 1 tablespoon Gluten Free Oats (this makes 1/2 cup Oat Flour)
1/2 cup Cassava Flour
3 teaspoons Coconut Sugar (Regular Sugar also works)
1/4 teaspoon Cinnamon
1 teaspoon Baking Powder
1 pinch Salt
1 Egg
1/2 cup + 2 tablespoons Dairy-Free Milk (I used Almond Milk)
1/2 teaspoon Apple Cider Vinegar
1/2 teaspoon Vanilla Extract
Spray-On Cooking Oil of choice or 1 tablespoon Oil (I like using Coconut Oil)
- Using a blender (I just used my single-serving Ninja), pulverize the gluten free oats until they resemble a fine flour.
- In a medium-sized bowl, measure out the oats, cassava flour, coconut sugar, cinnamon, baking powder, and salt. Blend together.
- In a small bowl, whisk together the egg, dairy-free milk, apple cider vinegar, and vanilla extract. Pour the wet mixture into the dry mix and gently stir until mostly combined into a thick batter (some lumps are okay here—we don’t want to over-stir).
- Add in any mix-ins you desire at this time.
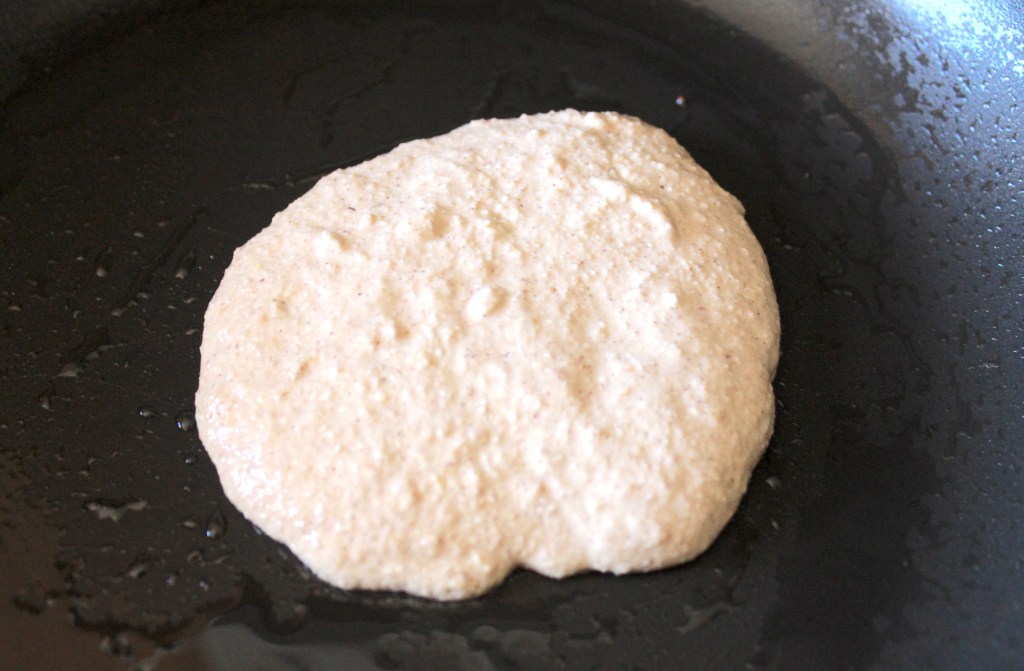
- Place a large frying pan over low-medium heat. Once the pan is hot, spray a light coating of oil over the surface of the pan.
- Using a 1/4 cup measuring cup, ladle one scoop of the pancake batter into the pan at a time. Depending on the pan size, 2-4 cakes can be cooked at a time. Just be sure to leave about 1.2-2 inches of space in between each cake.
- After about 1 minute use a spatula to carefully lift up one of the pancakes.
If the color is golden brown, it’s time to flip!
If the color is very light, leave the pancake on that side and check on it every 30 seconds until golden brown.
If the color is very dark, flip the pancake over and turn down the heat. It’s better to take more time on the pancakes than to have burnt pancakes! - After about 1 minute on the second side, check to ensure the second side is golden brown. If done, remove the pancakes from the pan and stack up on a plate.
- Repeat steps 5-8 again until all of the batter is gone. Serve immediately with your favorite fixings and dig in!